I have just come across this issue so noting it down for anyone else that has the same issue.
I recently encountered an issue with Windows Terminal not detecting NerdFonts for oh-my-posh, so I’m sharing a solution that might help others facing the same problem.
The issue arose on my Windows 10 laptop, and it seems to be a recent change. While I haven’t confirmed if this affects Windows 11 users, it’s something to keep in mind.
The Problem
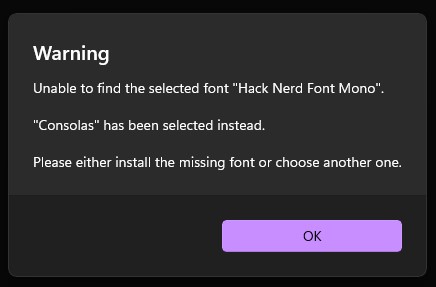
Even if you have the fonts installed in C:\Windows\Fonts, Windows Terminal may still not recognize them. It appears that the fonts now need to be installed through the Settings > Personalization > Fonts menu as well. However, simply searching for the fonts in this menu might not show the desired results.
How to Fix It
To properly install the fonts, follow these steps:
- Download the NerdFonts you want to use.
- Open Settings > Personalization > Fonts.
- Drag the downloaded font files directly into the window, or use the “Browse” option to locate and install the files.
Note: You can’t just copy the fonts directly from C:\Windows\Fonts into this new location. The fonts must be re-downloaded and installed through the personalization settings.
Hopefully, this helps anyone else who runs into the same problem!